**10% OFF SALE PRICES WITH CODE EXTRA10 – ENDS TONIGHT***
**10% OFF SALE PRICES WITH CODE EXTRA10 – ENDS TONIGHT***

You are here: Home »
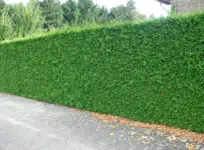
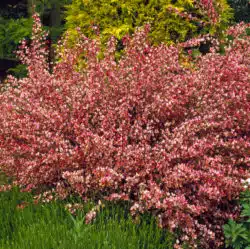
Removing hedges is a trickier task than it might sound at first. Hedge plants, in all their great variety of forms, have one thing in common: tenacity. Any remaining stumps or parts of a root ball could bring forth suckers and the plant will regrow. Even if you leave behind a stump that is completely dead, it could become home to fungus such as honey fungus which could spread to other parts of the garden.
If you need to learn how to remove a hedge, we’ve written this guide to help you complete the project ensuring you are left with a healthy garden.
We don’t always recommend removing hedges – in fact, where possible, we think it’s easier to leave them where they are since hedge removal is a difficult and sometimes costly process. Removing a hedge without a good reason is a waste of effort, so it’s important you make sure you’ve weighed all your options first.
Let’s diagnose the problem before moving forward: Why do you want to remove your hedge?
If you still want to remove your hedge, read on!
Once you’ve made a firm decision to remove a hedge, planning is necessary!
To start with, do some research. Check that your 30-year-old Leylandii (or whatever hedge you’re removing) isn’t directly above significant infrastructural materials, like drains or cables. If it is, you’ll have to avoid anything too invasive to pull out the stumps, as bringing in a mini digger could lead to the collapse of a drain or the severing of an important cable. Those repairs would cost significantly more than any cost associated with the removal of a hedge!
Regardless of whether you find anything under your soon-to-be-removed hedge, it is also worth researching local tree surgeons or landscape contractors. If the job is a big one, professional help is invaluable. This is the easiest way to remove a hedge – contracted workers will cut down the plants to their stump and then remove the remains safely and quickly.
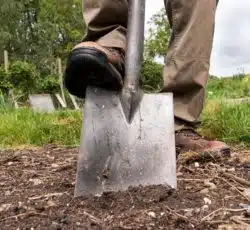
If you fancy the challenge of removing a hedge yourself, then the place to start is making sure you have the appropriate safety equipment is the first step. You’ll need safety glasses and, ideally, steel-capped boots to protect your feet. Long sleeves and long trousers are also wise to protect your skin from splinters.
After that get some pruners, hedge shears and loppers to start methodically cutting the branches down to the stumps. Once you’re at the stump stage, you have a few options for their final removal:
If you’re hoping to move this hedging plant instead of disposing of it, complete the removal process anywhere from late autumn to early spring when the plant is dormant.
Remember that if the hedge is diseased, you’ll need to remove all the plant material – branches, clippings and roots – as thoroughly as you can to prevent the disease from spreading.
And whatever you do, don’t try and burn the stumps whilst they are still in the ground. They’re inevitably too wet and the wood too green to burn properly.
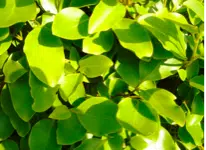
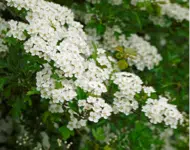
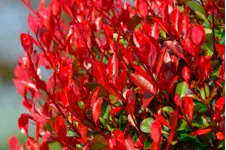
Now you’ve removed your hedge, give yourself a well-deserved cup of tea or glass of wine. It’s time to plan what to do with all that space you’ve created – another more fitting hedge perhaps? We have a wide range of hedging plants here at Hopes Grove Nurseries, and we’re committed to helping you choose the right hedge for you.
Contact our team for more information.
Out of Stock