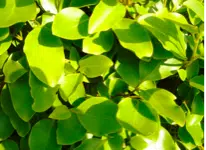
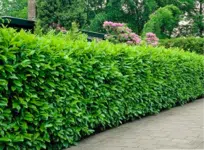
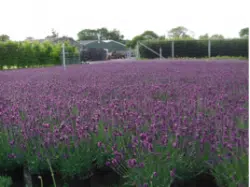
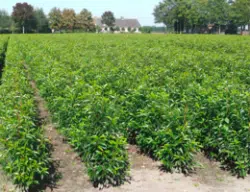
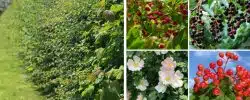
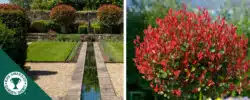
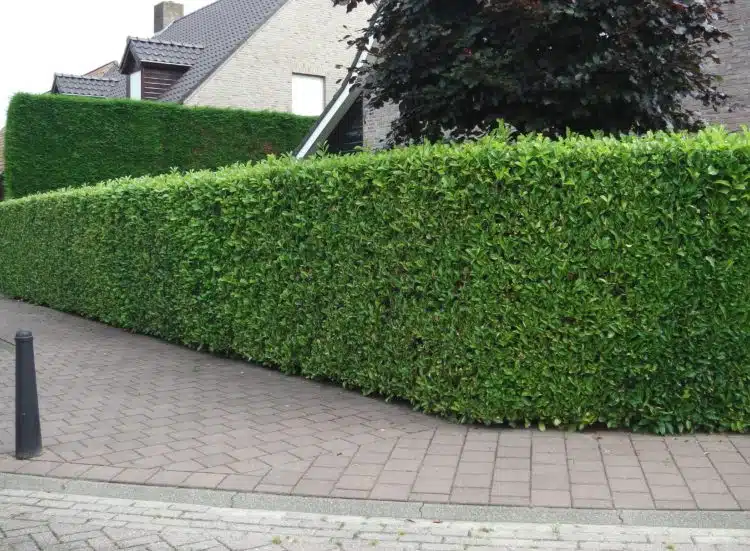
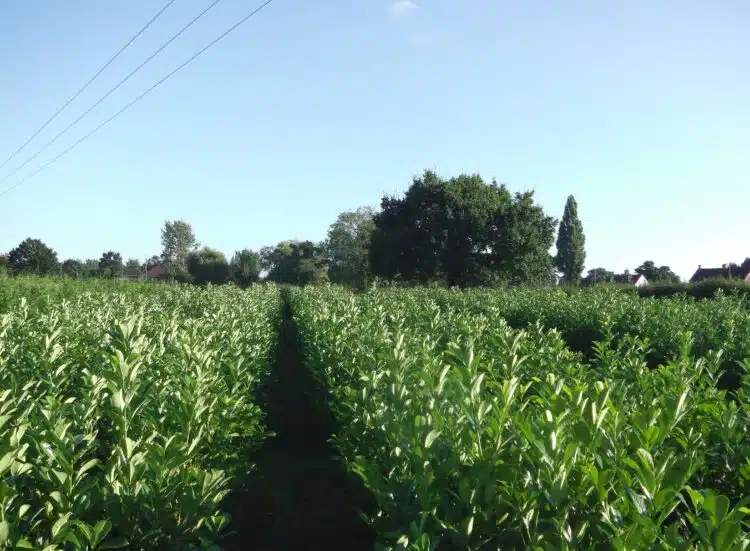
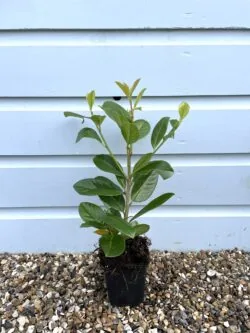
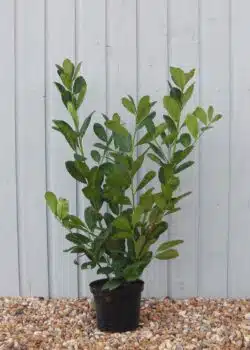
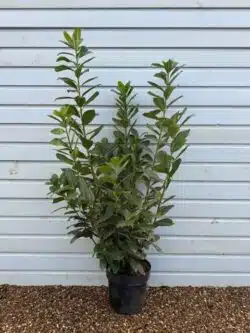
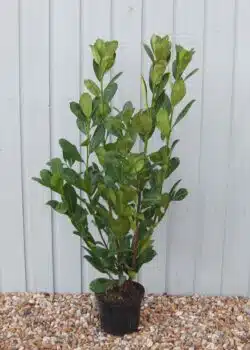
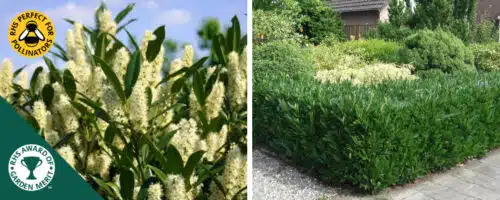
Common Laurel hedge plants (Cherry Laurel) are one of our most versatile and popular hedging species. Their Latin name ‘Prunus laurocerasus Rotundifolia’ comes from the large, leathery round leaves, twice as long as they are wide, shiny dark green on the top, catching the light and a paler green underneath.
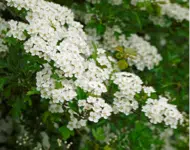
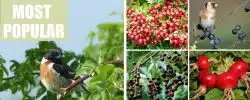
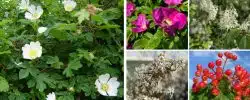
In April, Cherry Laurel bushes produce large numbers of flower spikes, each one made up of many sweet-smelling small white flowers which develop into red and then black fruits that look like cherries – hence the ‘Cherry Laurel’ name.
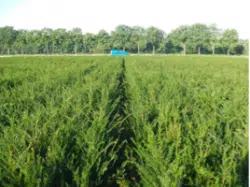
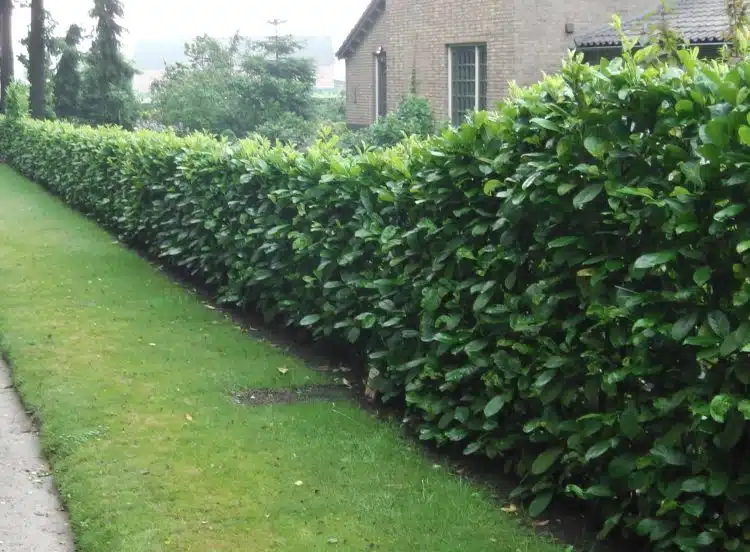
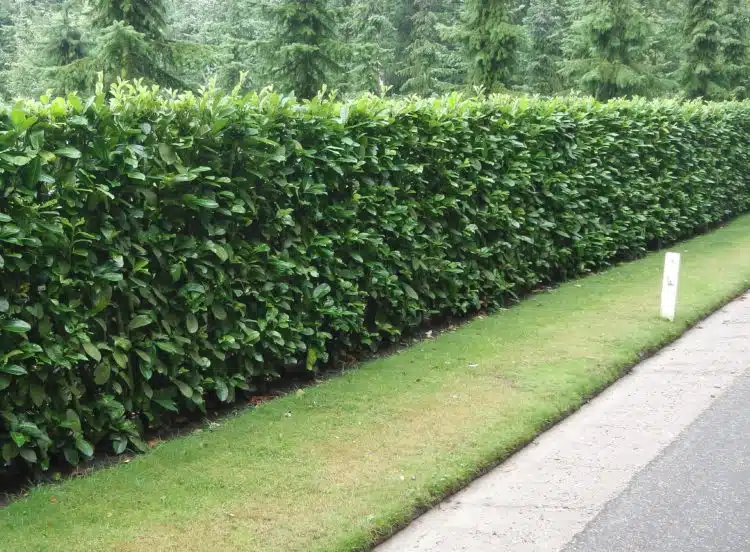
Common Laurel hedge plants have a moderately fast growth rate of 30cm per year. Well-cared-for Cherry Laurels in good soil may grow twice this rate, especially when the hedge is young. Maintain these plants easily by trimming once a year in autumn or spring.
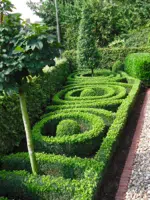
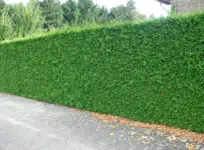
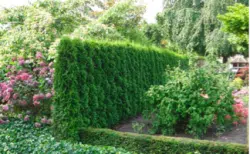
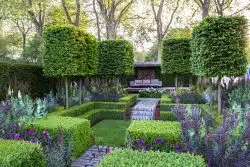
Cherry Laurel is a good choice for boundary hedges to give privacy and weather protection as they can be easily maintained at any height from 120cm (4 feet) up to several metres. We supply them in various sizes, from just 30cm up to 200cm or more.
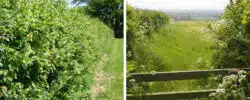
Common Laurel hedge plants will act as a natural windbreak, filtering the wind, unlike a solid barrier such as a fence or wall. They also reduce noise pollution by filtering it, and like many evergreen hedges, they are great for improving air quality by absorbing pollution, especially particulates.
Cherry Laurel hedge plants are easy to grow with just two simple exceptions:
Very wet soil – if your soil becomes waterlogged during wet weather or through excess watering, then Cherry Laurels are unlikely to thrive in these conditions.
Very chalky soil – Common Laurels tend to go very yellow and pale in thin chalky soils.
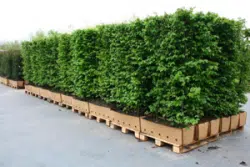
Our Cherry Laurel instant hedging is the perfect answer where immediate effect is the overriding consideration. We stock ready-trimmed Laurel instant hedges in various sizes up to 200cm. These plants are available for planting all year round.
We offer generous quantity discounts for larger quantities.
With your order, we will send you complete, easy-to-follow guidance via email and a weatherproof hard copy to help you prepare, plant and care for your new hedge.
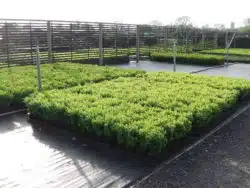
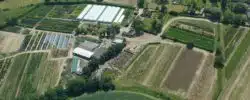
We have a fabulous selection of Common Laurel hedge plants, from Bare Root, Root Ball and Pot-Grown to Cherry Laurels in various sizes grown in our family nursery in Kent.
If you have any other questions about Cherry Laurel hedging or any other hedging plants, contact our friendly sales team on 01580 765 600.
Potted orders are usually despatched within 3-5 working days and delivery is 1-2 days after we despatch. Pleached tree and tall plant deliveries are booked in for delivery at the earliest possible convenient date.
Delivery is free for most orders above our free delivery thresholds, these are displayed above our prices in the product listings and summarized below. If you don’t need that many plants it’s not a problem, you can choose to pay our subsidised delivery charge and only order what you need.
Delivery is convenient – no signature is required so you don’t need to wait in, we will leave your parcel in the safe place that you nominate.
Delivery is fast – because we pick orders daily from our own growing beds your plants only travel the small hop to our packing shed before being sent to you, they are usually delivered within 5-7 working days.
Delivery is reliable – we have been selling and delivering Hedging Plants to our customers nationwide since 1992. We have a lot of experience in packing them safely and only use tried and tested delivery partners.
Smaller Plants (Parcel Delivery)
Location
Order Value
Price
UK Mainland excluding Highlands
Up to £300
£9
UK Mainland excluding Highlands
Over £300
Free
Scottish Highlands and Isle of Wight
All orders
£24
Heavy Plants (Pallet Delivery)
Location
Order Value
Price
UK Mainland excluding Highlands
Up to £500
£50
UK Mainland excluding Highlands
Over £500
Free
Scottish Highlands and Isle of Wight
All orders
£90
Tall Plants 2.5m+ (Specialist Delivery)
Location
Order Value
Price
Mainland England and Wales only
Under £1800
Please call us
Mainland England and Wales only
Over £1800
Free
All other areas
All orders
Not available
Exceptions to our delivery charges are Scottish Highland and Isle of Wight delivery areas where we need to charge a little extra to cover the cost of deliveries to these outlying areas. We don’t currently delivery to other offshore addresses including Northern Ireland and Southern Ireland.
Tall plants over 2.5 metres have to be delivered by our own specialised transport, our delivery area is limited to mainland England and Wales only.
For pleached tree orders we can often deliver smaller orders of £600 or more (£500 plus VAT) with a contribution towards delivery, so please do call our sales team on 01580 765 600 or take a look at our Delivery Information page.
Please note there is a minimum order value of £50 for orders containing smaller plants and £250 for orders containing heavier plants.
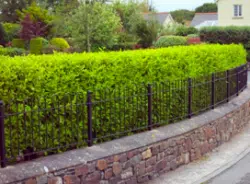
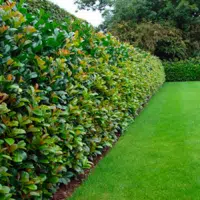
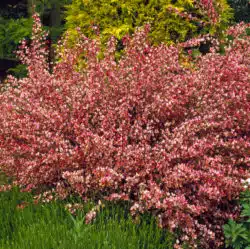
Large rounded leaves of deep green that somehow catch the light in all seasons. This is one of the best evergreen hedges, versatile, easy and fast growing. The Common Laurel is a great all rounder and a worthy favourite with our customers.
Further Information about Common Laurel Hedge Plants (Cherry Laurel)
What are the benefits of growing Cherry Laurel plants?
Every Laurel hedge variety has different properties, including growth speed. Cherry Laurel grows about 30-60cm a year. It’s a great choice of hedging plant if you need height, providing shade and full coverage. You can plant Cherry Laurels in many conditions. They’re happy in full sun or partial shade, and as long as the soil isn’t too chalky or too wet, the soil conditions shouldn’t affect growth too much.
What are some alternatives to Common Laurel hedge plants?
When is the best time to trim Cherry Laurel hedge plants?
The best time to trim a Common Laurel hedge plant is during the growing season (avoiding the coldest months of the year so the cut edges don’t get frosted).
We recommend trimming in either early spring (before the Common Laurel hedge grows) or in autumn when growth has finished before the onset of winter, giving cut edges a chance to heal before the frost.
You can trim your Common Laurel hedge plants with shears, secateurs or a hedge trimmer. Many books will tell you to use secateurs because Cherry Laurels have large leaves, and the cut edges left by a hedge trimmer will leave them looking unkempt. It isn’t necessary, as any leaves damaged by hedge trimmers tend to be purely aesthetic, with some browning around the edges. If you trim in the spring, the new growth covers the cut edges quickly.
By trimming back your Cherry Laurel hedging ‘tight’ each year, you’ll avoid it becoming wider and wider as time goes by, taking up more valuable garden space than is necessary and eventually needing drastic remedial action. Well-treated Common Laurel hedging will show good annual growth, and the foliage will be a lustrous, rich green.
In most cases, there is no need to rip the old hedge out. Cherry Laurels can have the most drastic surgery (right back to bare stumps), and they will regenerate with young green shoots soon after. Especially if the operation happens in early spring, following a convalescent feed and mulch.
Even the most unpromising woody Common Laurel specimens can return to a lustrous display of shiny green foliage within two or three seasons.
Start by reducing the height of the Common Laurel hedge plants, then tackle the sides the following year, spreading this over a couple of seasons if you prefer. Doing this gradually, allows you to be thorough about removing any dead or diseased wood and ensuring you remove some internal branches to allow good air circulation and keep it drier in damp conditions. You should then start to see the promising new shoots soon after, certainly within two or three months.
Rejuvenating old Cherry Laurel hedges can be a rewarding pastime in one great purge, or ideally spread over several seasons. Either way, you should find these tough evergreen hedging plants remarkably resilient, giving excellent results when cut back hard.
Our general rule of thumb is to give Cherry Laurel hedges a balanced feed each spring before growth starts, ideally with a generous mulch (applied before dry weather) to retain moisture at the roots during the growing season. The suitable feeding process may also depend on the Common Laurel’s growth stage.
In order not to cause too much stress to your established laurel hedge, try breaking it down into smaller stages. Start by reducing the height of the Common Laurel hedge plants, then start tackling the sides the following year, spreading the work over a couple of seasons if you prefer. Doing this piece should allow you to be thorough about removing any dead or diseased wood and ensuring some internal branches are removed to allow good air circulation and keep it drier in damp conditions.
Try and do this in early Spring if possible and remember to give the hedge a good feed and mulch after. You should then start to see the promising new shoots soon after, certainly within two or three months. Rejuvenating old Cherry Laurel hedges can be a very rewarding pastime that may be addressed in one great purge, or ideally spread over several seasons. Either way, you should find these tough evergreen hedging plants remarkably resilient and will give excellent results when cut back hard.
Steps to make before planting Common Laurel Hedging Plants
When you first plant Common Laurel hedge plants, we always recommend using bone meal, a natural organic fertiliser to be mixed well with the soil. One kilo of bone meal should be enough for approximately 15 metres of Common Laurel hedging plants.
We also suggest using Rootgrow at the time of planting. These naturally occurring native fungi form a symbiotic relationship with your new Laurel plants almost immediately, allowing them to develop the secondary root system necessary for successful growth and establishment without delay.
When planting and caring for your Cherry Laurel, ensure the soil is well-drained, as wet conditions can cause many fungal diseases to spread, and your hedge may struggle to thrive. Avoid planting your Common Laurel hedges on windy, exposed sites, as they would find these challenging conditions.
Rootgrow is an excellent aid to establishing a Laurel hedge
How do you maintain our Cherry Laurel Hedge?
We recommend an annual feed early in the spring with a balanced fertiliser, such as our after-plant feed. This benefits a Cherry Laurel hedge or any other evergreen if applied with mulch (a layer of moisture-retaining material, like well-seasoned bark chippings, lawn mowings or garden compost).
How do I know when the Common Laurel Hedging is mature?
Older Common Laurel hedge plants can sometimes run out of steam, making very little annual growth and looking pale and chlorotic. Assuming there is no obvious cause for this, such as a new concrete driveway. We recommend a balanced specialist fertiliser to encourage the root and top growth with magnesium to improve the leaf colour.
Our Seaweed Bio-stimulant is ideal if the root run is very dry. We recommend gently loosening the top few centimetres with a garden fork and watering well after application. This action should freshen up your Cherry Laurel hedge within a few weeks, especially, if undertaken in spring or early summer.
Common Diseases for Cherry Laurel Hedges
Cherry Laurels are popular among gardeners because they’re relatively trouble-free, a robust hedging species resistant to pests and diseases, especially once fully established.
There are common diseases to be wary of for your Cherry Laurel. Luckily, Laurels can naturally recover from these plant diseases without harsh intervention.
Leaf drop
Freshly planted Common Laurel hedge plants can ‘moult’ some of their many leaves after planting. This is more common if the weather is very harsh during winter or turns very warm in the spring when a new hedge is planted late.
Leaf loss is a stress response to conserve water. If the new plants are kept well-watered and planted in suitable soil, they should re-leaf soon after the start of the growing season once the roots have become established. ‘Leaf drop’ can be minimised by good soil preparation, sufficient watering after planting, mulching, and the application of Rootgrow will also help the new root system to establish much more quickly.
Frost damage
Common Laurel hedge plants can suffer from frost damage in autumn, winter and spring.
Autumn frost damage only occurs if the plants grow very late in the season and the soft growth does not have time to ‘harden up’ and lignify before the first hard frost killing several inches of the soft tips, turning them brown and necrotic. We advise that the dead growth is cut back to healthy, undamaged wood to prevent infection from gaining entry to the plants through the dead tissue at a time of year when the weather is cold and damp.
Winter frost damage is often associated with cold winds leading to the browning of the leaves on exposed parts of the plant; this may be at the edges or over the surface of the foliage. These damaged leaves will moult in the Spring, and fresh new foliage will appear.
Spring frost damage is more common, as this occurs with many garden plants when a late frost comes after the plants have started to grow in the spring. The new growths will often become blackened and shrivel very quickly. Again, this is not serious, as the Common Laurel hedging plants will make new secondary growths within a few weeks as the weather becomes warmer and the days get longer.
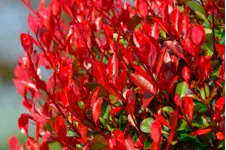
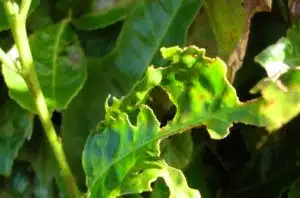
Powdery Mildew
This is a fungal disease that may be caused by one of two types (Podosphaera Tridactyla and Podosphaera Pannosa), appearing as a white powdery coating on the leaf surface of the younger growth at first. As the fungus develops, the underlying leaf tissue will turn brown and die, and the young leaves will have irregular holes, brown patches and ‘tatty’ edges to them. The symptoms of this fungus make the plants look more like insects have eaten the new leaves than suffering from disease.
Powdery Mildew usually develops due to weather conditions that encourage it, making the plants look rather unsightly, but the plants will grow out of it. Trim the plants to remove the damaged leaves, or you could give the plants a spray with a suitable Mildew Fungicide for use on ornamental plants, but neither is necessary.
Powdery Mildew is often a disease seen on younger Cherry Laurel plants that are growing strongly or very old and overgrown plants that have been cut back very hard and are making new growth. The disease will reduce as time passes and the growth pattern settles down.
Leaf damage to Cherry Laurel caused by Powdery mildew
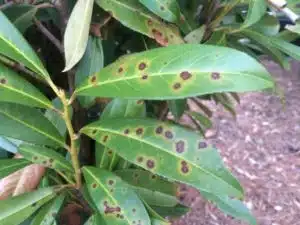
Leaf Spot and Shot Hole Diseases
Fungal shot hole of Laurels
Infections of leaf spot fungi (Stigmina Carpophila and Eupropolella Britannica) result in brown spots on the leaves. Over time, Laurel hedge plants will control the infection causing both the healthy and diseased parts of the leaf to separate, resulting in the centres of these spots falling out. This leaves behind various irregular holes in the foliage, known as ‘shot holes’. The fungal spores are spread and dispersed by rain.
Bacterial shot hole disease of Laurels
Bacterial shot hole disease is caused by the bacterium, Pseudomonas Syringae and is spread by wind and rain, causing the bacteria to enter the leaves through either damaged tissues or the natural leaf openings (stomata). You can identify the disease by light brown lesions that gradually become larger, unlike the fungal shot hole disease, the lesions have a yellow halo around the edge. Again, as the plant controls the infection, the infected and healthy parts of the leaf separate, and the centre drops out to leave irregular holes.
Bacterial Shot hole disease of Cherry Laurel caused by Pseudomonas
Wet conditions will encourage the development and spread of both these shot-hole diseases. When drier conditions return, the infection will likely clear up without further intervention.
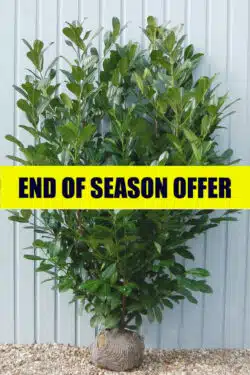
Common Laurel hedge plants (Prunus Laurocerasus Rotundifolia), also known as Cherry Laurel are a Hopes Grove Nurseries best seller. A Cherry Laurel has large, dark green, glossy leaves and, if untrimmed, will produce fragrant white flowers followed by red berries.
You can view our full range of Cherry Laurel hedge plants below, or scroll further down the page for full information and our expert advice on growing and caring for Common Laurel hedge plants.
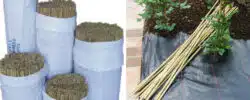
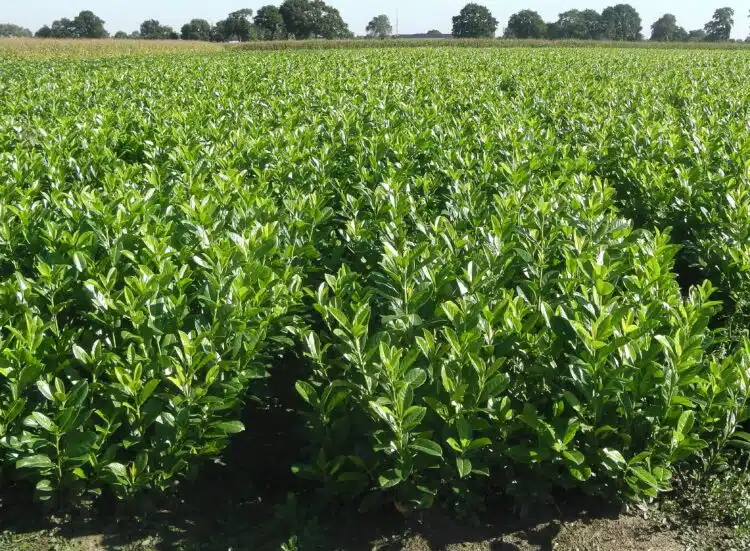
Beautiful bushy plants grown in our fields for several years, they are lifted in season (October-Early May) with the immediate root ball which is wrapped in hessian for protection. Strong plants giving instant impact at moderate cost.
Potted Hedging
We deliver these plants to you in the pots they are grown in, because there is no root disturbance they can delivered and planted all year round with excellent results.
Our hedges come in a number of different root types to suit any budget or requirement:
Rootball Hedging
Beautiful bushy plants grown in our fields for several years, they are lifted in season (October-Early May) with the immediate root ball which is wrapped in hessian for protection. Strong plants giving instant impact at moderate cost.
Potted Hedging
We deliver these plants to you in the pots they are grown in, because there is no root disturbance they can delivered and planted all year round with excellent results.